
Back
Create Course Categories
How to Create a Course Category
EzyCourse gives you the option to keep your courses organized so that they are easy to find. For this, we have the course category option. You can create a category and then add relevant courses under the same category.
Here’s how you do it:
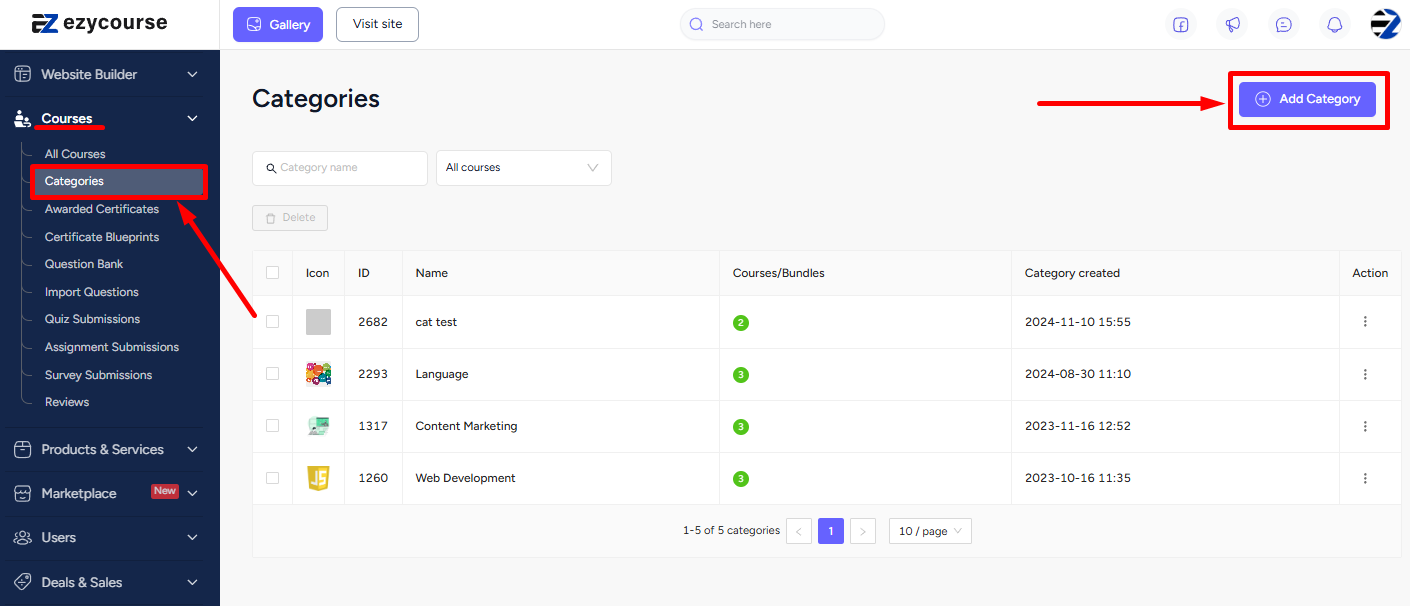
→ Log in to your dashboard and select Courses -> Categories from the sidebar.
→ Click the Add Category button on the top right corner of your screen.
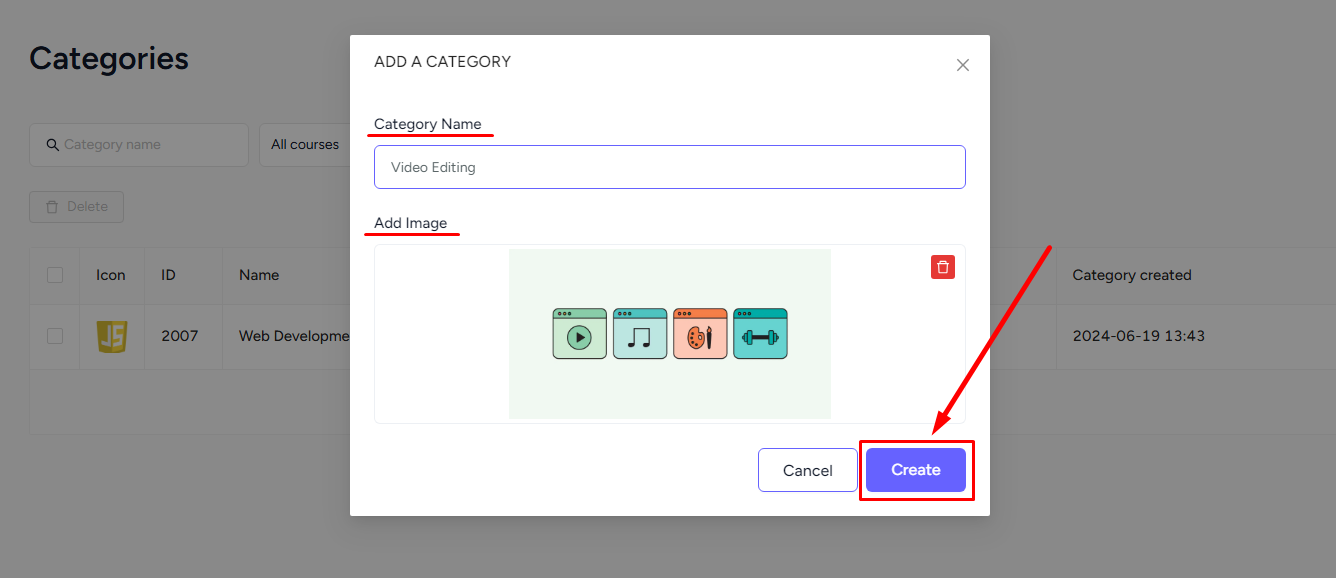
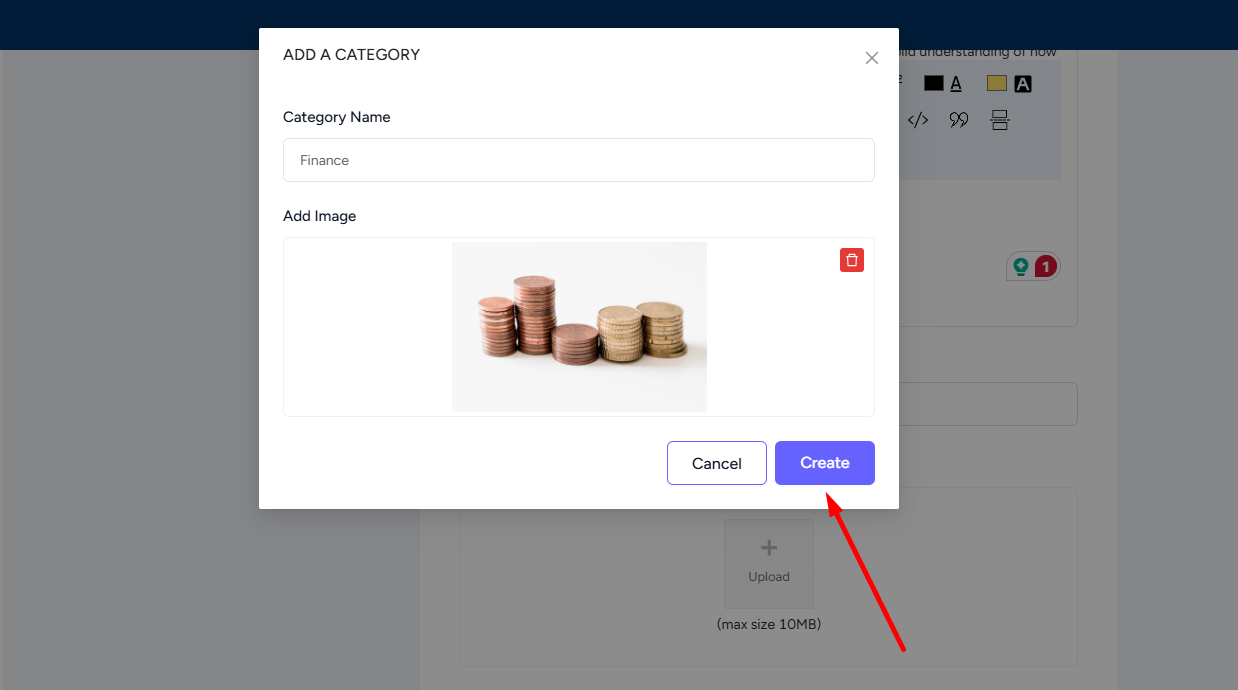
→ Give a name and add an image for the category on the popup form and click Create.
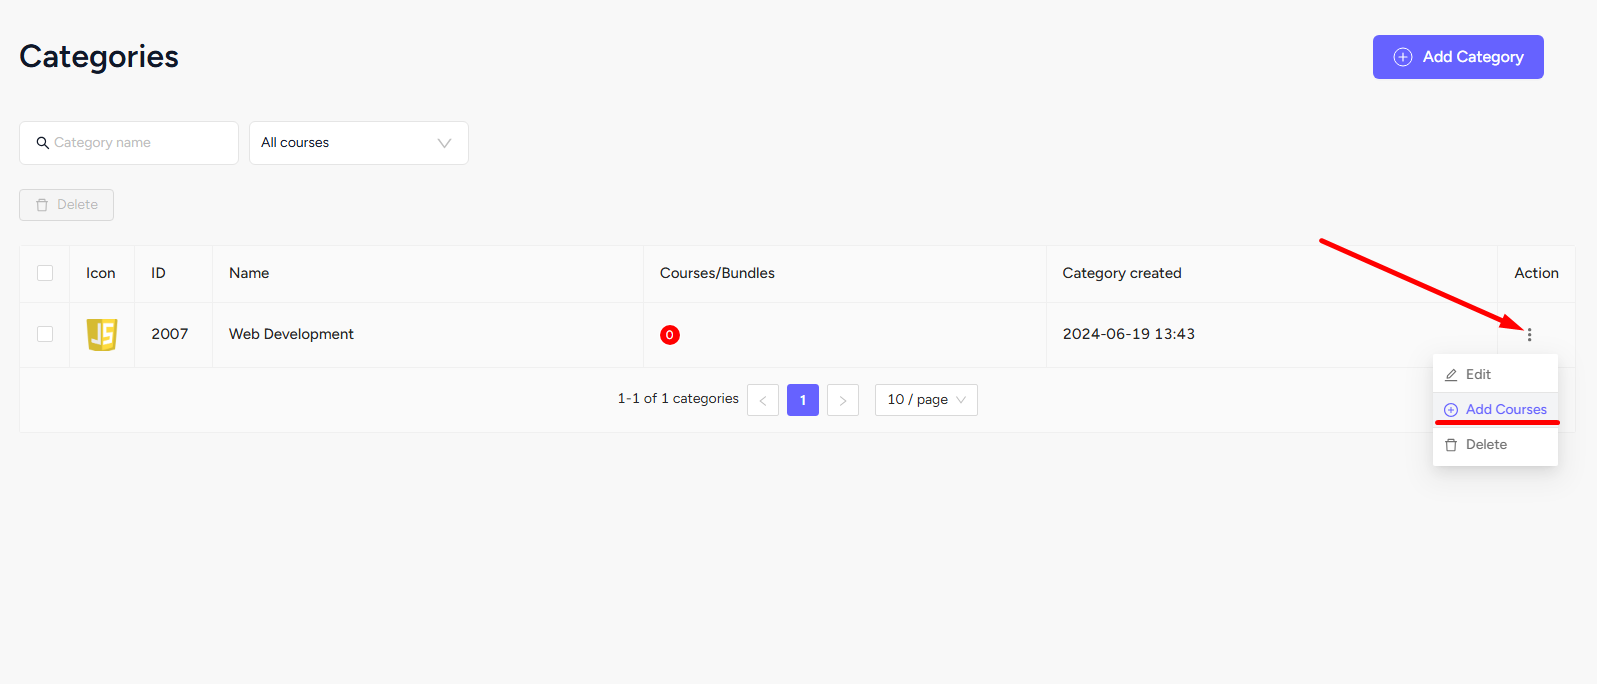
→ Click the three dots on the row your new category is at and select Add courses.
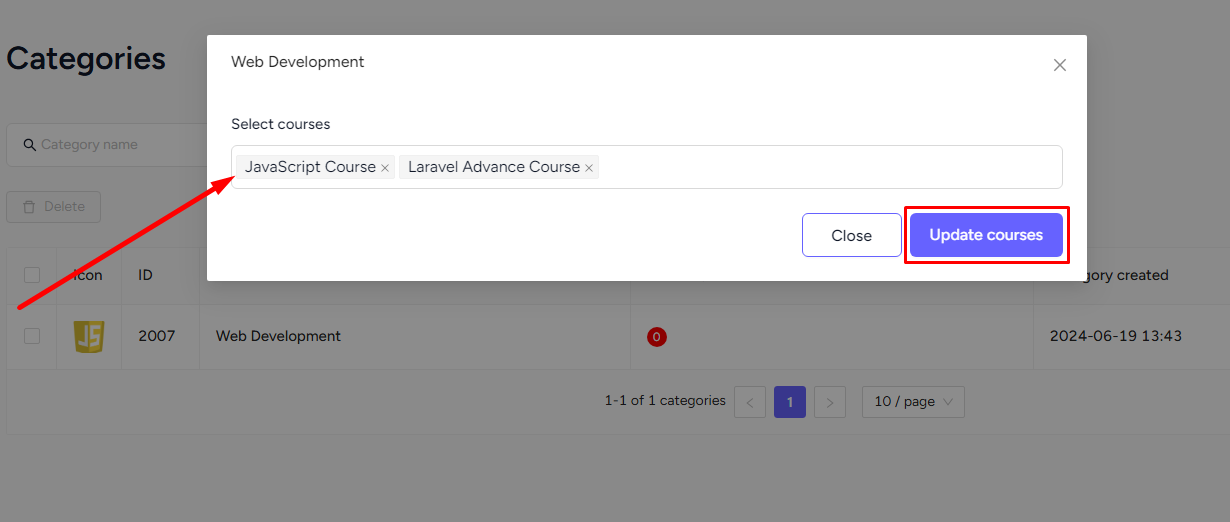
→ Now, from the popup, select the courses from the dropdown and click Update courses to add them to this category.
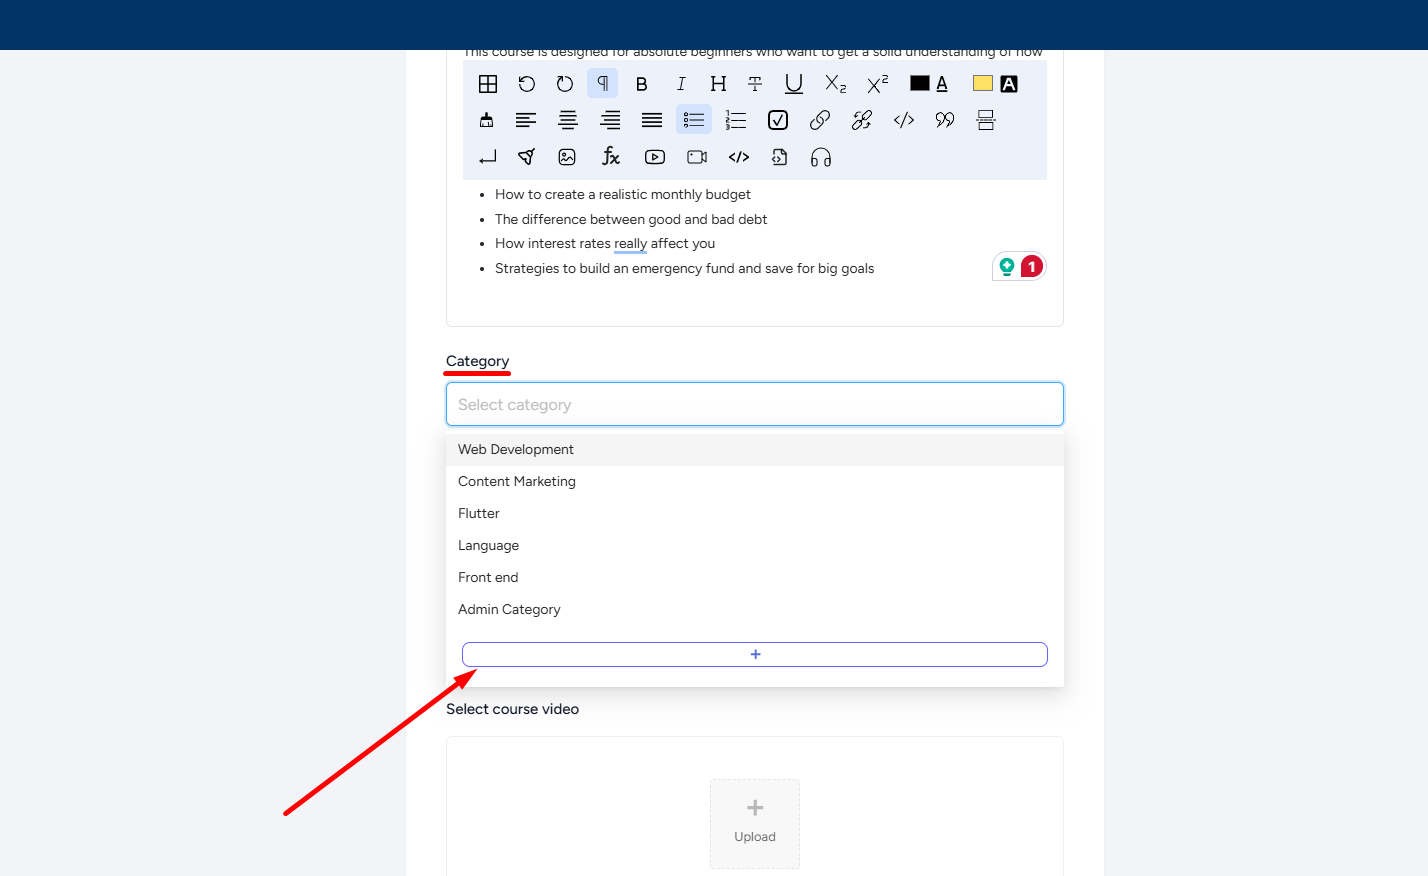
You can also add a new category while creating a new course for your site.
Not only that, you can add courses to categories anytime, edit the category name and image, and delete any category too.